Sudden Vs Gradual Water
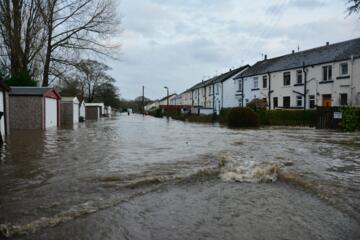
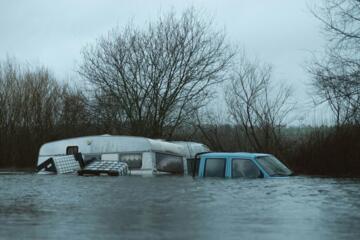
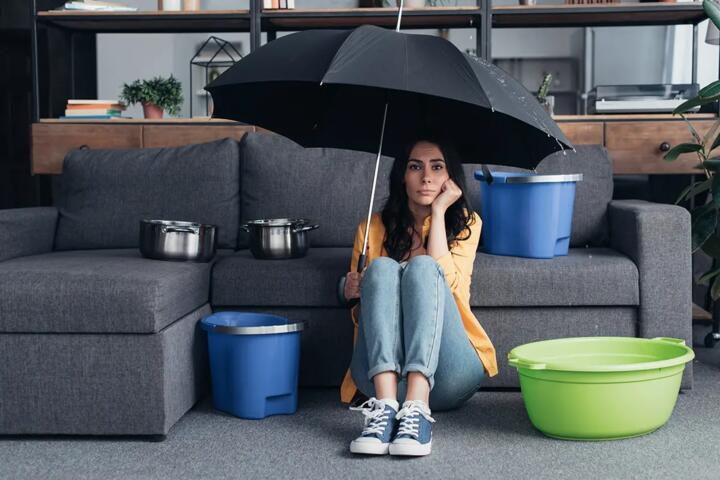
Sudden water damage usually follows a discrete event: a pipe bursts, a supply line fails, a toilet overflows, or a storm drives water into a building. Gradual leaks build over time from small failures such as a worn supply hose, a failing roof flashing, a slow drain trap issue, or condensation that never fully dries. The difference matters because the same visible stain can come from very different moisture histories, and the repair path changes with that history.
In practice, the “line” is drawn by time pattern, moisture spread, and how quickly materials respond. A burst can wet drywall and subfloor within hours, while a slow leak may keep surfaces damp for weeks. That timeline influences whether you’re dealing with surface staining, hidden saturation, or microbial growth risk. I’ve seen people treat both as “a leak,” then choose the same cleanup steps even when the moisture source and drying needs differ.
Start with what you can observe without special tools: when the problem began, whether water traveled from a single point or seeped along seams, and whether the area dries after the source stops. If you can’t identify a start date, you can still infer a pattern from the extent of staining, swelling, and odor persistence.
Common Misreads And Traps
People often misread sudden damage as “gradual” when they discover it later. A slow discovery can happen after a weekend leak or a vacation, so the event may have been sudden but the evidence shows up gradually. The reverse also occurs: a leak that started small can look sudden once a ceiling collapses or paint bubbles after prolonged dampness.
Another trap is assuming the visible wet area matches the wet volume. Drywall can wick moisture laterally, and wood framing can stay damp even when the wall surface looks dry. That behavior depends on material type, thickness, and whether the leak was intermittent. A pinhole leak at a pipe joint can keep a narrow zone damp while the surrounding materials remain at near-normal moisture content.
Supporting technologies and dependencies shape what you can confirm. Moisture meters measure electrical resistance or capacitance, but they don’t directly measure “mold risk.” Hygrometers track relative humidity, yet humidity alone can’t tell you where the water came from. Thermal imaging can show temperature differences tied to moisture, but it needs correct conditions and interpretation. Even a simple infrared thermometer can mislead if surfaces are sun-warmed or recently cooled.
Documentation is another dependency. Insurers and remediation contractors often ask for dates, photos, and a timeline of actions. Without that, you may end up repeating measurements or paying for re-inspection. I once watched a homeowner redo a moisture map because the first set of photos didn’t include a reference object for scale.
How To Respond Effectively
Stop The Source First
For sudden damage, shut off the water supply at the nearest valve if you can do so safely, then remove standing water quickly. For gradual leaks, locate the source before drying decisions become permanent; drying without fixing the cause can keep materials cycling between damp and dry. If you can’t access the shutoff or the leak is behind a wall, call a licensed plumber or building professional to prevent repeated wetting.
Use practical tools: towels and a wet/dry vacuum for standing water, plastic sheeting to protect unaffected areas, and fans to move air once water is removed. A shop vac rated for wet use helps with water on hard floors; a regular household vacuum can be unsafe for water pickup. If the leak involves sewage or unknown contamination, treat it as contaminated and avoid spreading aerosols during cleanup.
When the source is stopped, track the timeline. Write down the time you shut off the water and the time you started drying. That record helps distinguish a one-time wetting from ongoing moisture intrusion.
Measure Moisture And Drying
For both patterns, measure before you guess. A basic plan uses a moisture meter on suspect materials (drywall face, baseboards, and accessible wood) and compares readings to nearby unaffected areas. If you have access to a hygrometer, record indoor relative humidity and temperature at the same times each day. In many homes, a relative humidity target around 30–50% supports drying, but local conditions and HVAC settings change the outcome.
Drying outcomes depend on airflow, temperature, and evaporation path. Fans should move air across wet surfaces, and dehumidification reduces the moisture load in the air. If you’re drying after a sudden event, the first 24–48 hours often determine whether materials reach a safe moisture range before microbial growth accelerates. With gradual leaks, the drying may take longer because the moisture has penetrated deeper layers.
As a side observation, I’ve seen people rely on “it feels dry” after 12 hours of fan use. Dry to the touch can still mean elevated moisture inside drywall paper or within wood members.
Document For Repairs And Claims
Take photos and short notes that show the timeline and extent. Include wide shots of the affected area, close-ups of stains, and images of the suspected source location. Add a date stamp if your phone camera supports it, and include one photo with a ruler or tape measure for scale. Keep receipts for fans, dehumidifiers, wet/dry vac rentals, and any emergency plumbing.
If you’re dealing with insurance, ask what documentation they require before you start demolition. Some policies require mitigation steps, but they also may require that you preserve evidence of the cause. If you remove materials too early, you can lose the ability to show the original extent and the moisture pattern.
For a practical tool, a simple spreadsheet with columns for “date,” “action taken,” “meter reading,” and “photo link” reduces confusion later. Version 1.0 of that sheet is often enough; the key is consistency.
Know When Pro Help Fits
Sudden events with large volumes of water, hidden saturation, or contamination usually justify professional assessment. Gradual leaks that persist behind walls or under flooring often require invasive inspection to confirm the extent. If you see repeated dampness after repairs, the source likely remains active or the building envelope has a secondary pathway.
Look for signs that exceed DIY limits: swelling drywall, soft spots, persistent musty odor, visible bubbling paint, or water staining that expands after the source should be stopped. Professionals may use moisture mapping, controlled drying equipment, and sometimes air sampling in specific contexts. Air sampling can be helpful when there’s uncertainty, but it’s not a universal requirement and interpretation varies.
If you’re in a rental, notify the landlord promptly and document communications. Delays can worsen damage and complicate responsibility. I’ve also seen tenants lose time because they waited for a “dry day” to report the issue.
Educational Case Examples
Scenario A: Burst Supply Line Behind a Vanity
A resident notices water pooling on the bathroom floor and a wet ceiling below. The water shutoff is accessible, and the supply line is turned off within an hour. Moisture readings show elevated levels in the drywall face and baseboard within the first day, while nearby rooms remain normal. After 48 hours of drying with fans and a dehumidifier, the affected materials still show higher moisture than unaffected areas, so the contractor removes a section of drywall to confirm the subfloor condition. The key clue is the rapid onset and the “wet volume” pattern radiating from the plumbing location.
Scenario B: Slow Roof Flashing Leak
A homeowner sees a ceiling stain that slowly grows over several weeks near a chimney edge. No pooling occurs, and the stain appears more noticeable after rain. The homeowner checks the attic and finds damp insulation near flashing, with no single burst event. After the roof repair, the stain stops expanding, but the ceiling remains slightly discolored for months because the original moisture history has already altered materials. Moisture readings in the ceiling cavity decline gradually, and drying takes longer than a one-time event. The key clue is the time pattern tied to weather and the absence of a discrete overflow.
Comparison Checklist For Decisions
| Clue | Sudden Water Damage | Gradual Leaks | What To Do Next |
|---|---|---|---|
| Start Time | Minutes to hours | Days to months | Write a timeline and verify the source |
| Water Volume | Pooling or rapid saturation | Dampness without pooling | Use wet/dry vacuum for pooling; measure hidden moisture for damp zones |
| Spread Pattern | Often radiates from a point | Often follows seams, joints, or roof lines | Inspect along likely pathways before replacing finishes |
| Drying Speed | Declines after source stops | Declines slowly; materials may stay elevated | Track moisture readings over multiple days |
| Odor And Surface Changes | May appear quickly if contamination exists | Musty odor can build with time | Avoid masking odors; confirm moisture and remove affected materials when needed |
Step-by-step checklist
- Confirm whether the water source is active by checking the suspected plumbing or building envelope area.
- Stop the source and record the time.
- Remove standing water and start airflow; add dehumidification when humidity stays high.
- Measure moisture in affected materials and compare with nearby unaffected areas.
- Document with photos and a timeline before demolition.
- Re-check moisture after 24–72 hours; if readings stay elevated, expand inspection or involve a pro.
Common Mistakes That Worsen Damage
One frequent mistake is drying without fixing the cause. Fans and dehumidifiers can reduce surface dampness while the leak continues behind walls, leading to repeated wetting and longer drying times. Another mistake is waiting for “dry weather” to inspect a suspected roof or window leak; the building can remain damp between rain events.
People also underestimate hidden moisture. Replacing only the stained paint or a small drywall section can leave wet insulation or wood framing behind, which can later show up as returning stains. If you cut drywall too early, you may remove evidence of the original moisture pathway and complicate diagnosis.
Cleaning choices can also backfire. Scrubbing moldy surfaces without addressing moisture can spread spores and leave residues. Using household bleach on porous materials often fails to remove the underlying problem and can damage surfaces. A more reliable approach is to remove water-damaged porous materials when they remain wet or cannot be dried to a safe moisture level.
Finally, many people skip measurement. Touch-based judgment works for some surface wetting, but it fails when moisture is inside drywall or under flooring. A moisture meter reading trend over several days is more informative than a single “dry” check.
FAQ
How can I tell if a leak is active?
Look for ongoing signs tied to conditions: dampness that returns after rain, moisture that increases after plumbing use, or elevated moisture readings that do not decline after you stop the suspected source.
Do moisture meters work on drywall and wood?
They can help, but readings vary by meter type, material, and calibration. Use comparisons to nearby unaffected areas and track changes over time rather than relying on one number.
How long does drying usually take after a burst pipe?
Drying time varies with material thickness, airflow, and dehumidification. Many cases show measurable improvement within 24–72 hours, but hidden saturation can extend timelines, so re-check moisture rather than guessing.
Can gradual leaks cause mold even without visible mold?
Moisture exposure can support microbial growth in hidden cavities before mold becomes visible. Persistent musty odor, ongoing elevated moisture readings, and damp insulation are stronger indicators than a single spot stain.
What should I document for an insurance claim?
Record a timeline, take wide and close photos of damage and suspected source areas, save receipts for mitigation steps, and keep notes of when you shut off water and when drying started.
Author's Insight
Sudden versus gradual water damage is less about labels and more about moisture history: how quickly water entered, how far it traveled, and whether materials stayed damp after the source stopped. Evidence-based decisions rely on source control, moisture measurements, and documentation that supports diagnosis and repair scope. Moisture meters and humidity readings help track drying trends, but they do not replace inspection when water may be hidden behind walls or under flooring. When uncertainty remains, expanding inspection or using a qualified remediation professional reduces the chance of repeated damage.
Key Takeaways
- Sudden damage follows a discrete event; gradual leaks follow a time-linked failure pattern.
- Visible staining rarely tells the full moisture story; measure and re-check.
- Stop the source before relying on drying equipment, and keep a clear timeline.
- Document before demolition to support accurate repair decisions and potential claims.
- If moisture stays elevated after drying begins, expand inspection or involve a pro.